I have an overabundance of crayons. They tend to come home with us from restaurants and Nate has often gotten them as presents. He also rarely uses them. I decided to repurpose them into cuter crayons. so we can give them as gifts this year.
I started by washing out a bunch of vegetable cans. I used those to make a double boiler to melt the crayons in. You just take whatever crayons you want to melt, peel the paper off, and break them into pieces. Then place them into the can.
I heated the pan of water and just stirred the crayons while they melted. I did discover that some of the crayons won't melt. They may be the cheaper ones that have some kind of filler that isn't just wax. After it melted I removed the can, using tongs. Make sure to have tongs and pot holders because all of the metal is hot.
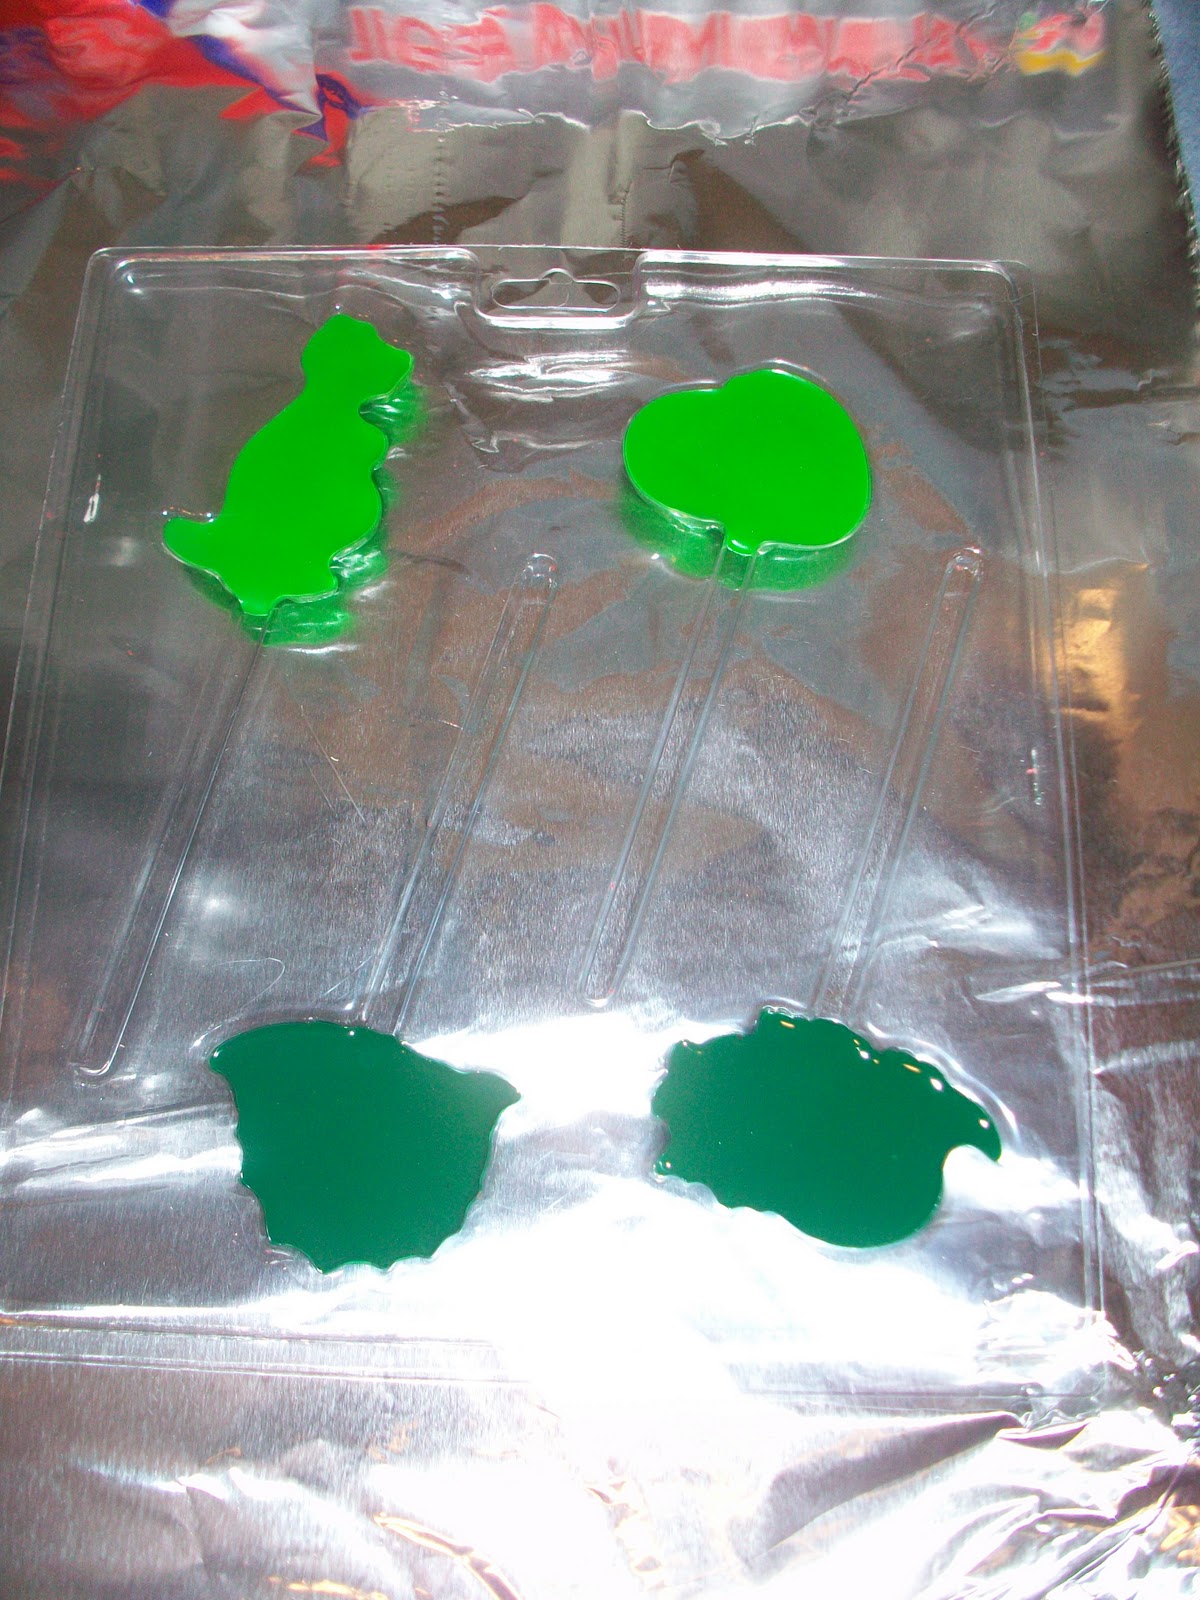
Pour the melted crayons into whatever mold you have. I filled a dinosuar mold. Then place in the freezer until they are nice and solid. They should just fall out when you turn them over. If they don't then they may not be solid enough.
Repeat with whatever colors you like.
Thursday, December 8, 2011
Wednesday, December 7, 2011
St. Nicholas Day
Our household truly does try to accomplish most holiday traditions, but St. Nicholas never visited our house growing up. So that was a tradition that I started for Nate. Basically it is an excuse to give him more gifts and he loved it!
Saturday, December 3, 2011
Christmas Craft #5
In trying to cut back the amount of money I spent on all of the little things, I started just making my own gift tags. It's really easy. I have a drawer full of scrapaper. Usually after I make something and there is a little left over paper I will just cut it into a square or a circle and punch a whole in it and I've got a gift tag. I'll also leave some without holes in order to just tape or glue them to wrapping paper. Once again this project cost me nothing.
This little guy requested that I take his picture because he was crafting too. Essentially he was cutting a paper towel with safety scissors.
Friday, December 2, 2011
Christmas Craft #4
I'm really into paper crafts right now, cards, place settings, tags, etc. So last night I made a banner. I hung it in Nate's room and I'll put it in the dining room for our gingerbread party. I have traceable letters that I use all the time, so I used those to trace and cut out Merry Christmas on red paper. Then I used a Tupperware top to get the right size circle for the letters to be glued on. I cut out the circles with craft scissors to make a scallop edge. I punched two holes in the top of each. Then strung all the circles on some red ribbon. Nate loves having it in his room and I love that it cost me nothing, but a little time.
Thursday, December 1, 2011
Christmas Craft #3
I have fallen in love with making bows. I always love quick crafts that come together easily. After making a couple of them it's really easy to knock them out quickly. We have tons of patterned and colored paper and I see lots of homemade bows in my future. Here's the tutorial I followed. It's the Very Bradley blog: http://insidestitch.com/page/2/ . You might need to scroll down to find it. Here's just a couple that I've created...
Wednesday, November 30, 2011
Christmas Craft #2
Just in time for the start of December today I completed Nate's Count Up to Christmas Activity Chain. That's a really complicated title that I came up with, but basically it's an activity for each day leading up to Christmas. I didn't go for a count down because we are working on teaching him that each day of the month has a number and they go from 1-31 and so I didn't want to do the reverse and confuse him. Here's what I created...
And here's a closeup...
I'm loving the idea of using things I already have, because well when you have no money at Christmas time it can be hard to be in the holiday mood. But luckily I have a creative mind. The cost of this project was $1, because I had to purchase the wide ribbon. Here's what I used:
-1 Roll of wide Christmas ribbon
-Red and Green Paper
-A circle template
-Craft scissors that make a scallop edge
-Metallic marker
-Clothespins
-Command Strips to make the ribbon stick to the wall
I took a little time to write out the date specific activities on the back of the circles, but otherwise I'm going to fill in as needed. Luckily Nate can't read yet, so I didn't have to fill out everything, I can make things up as the dates get closer. Here are some things we are going to do:
-Go to the bounce house
-Go to a Christmas parade
-Go to Zoo Lights in DC
-Make gingerbread cookies
-Have a Gingerbread House Decorating party
Then I will just fill in with things like drive around and look at lights, make an ornament, watch a Christmas movie and things like that. I think this is going to be a really fun month!
And here's a closeup...
I'm loving the idea of using things I already have, because well when you have no money at Christmas time it can be hard to be in the holiday mood. But luckily I have a creative mind. The cost of this project was $1, because I had to purchase the wide ribbon. Here's what I used:
-1 Roll of wide Christmas ribbon
-Red and Green Paper
-A circle template
-Craft scissors that make a scallop edge
-Metallic marker
-Clothespins
-Command Strips to make the ribbon stick to the wall
I took a little time to write out the date specific activities on the back of the circles, but otherwise I'm going to fill in as needed. Luckily Nate can't read yet, so I didn't have to fill out everything, I can make things up as the dates get closer. Here are some things we are going to do:
-Go to the bounce house
-Go to a Christmas parade
-Go to Zoo Lights in DC
-Make gingerbread cookies
-Have a Gingerbread House Decorating party
Then I will just fill in with things like drive around and look at lights, make an ornament, watch a Christmas movie and things like that. I think this is going to be a really fun month!
Tuesday, November 29, 2011
Christmas Craft #1
Living in a new home this Christmas season means finding new ways to decorate. We definitely downsized and will have to be creative in using our favorite decorations. One challenge I have is how to display our Christmas cards that we receive. After some googling I found that the best solution was clothespins. Here's what I came up with...
I would garland around the banister, then wound ribbon around the banister too. I attached clothespins to the ribbon that will hold the cards. I painted one side of the clothespins with red paint. I also mixed in glitter with the paint to make it sparkle a little. It seems like it's going to be a great solution if we can keep little hands from ripping the cards down!
Stay tuned for more craft ideas!
I would garland around the banister, then wound ribbon around the banister too. I attached clothespins to the ribbon that will hold the cards. I painted one side of the clothespins with red paint. I also mixed in glitter with the paint to make it sparkle a little. It seems like it's going to be a great solution if we can keep little hands from ripping the cards down!
Stay tuned for more craft ideas!
Subscribe to:
Posts (Atom)